

WELCOME!
Enjoy the Sweet, Simple Things in Life
Discover sweet things like delicious and easy recipes. Simplify your life with home decor and garden tips, DIY ideas and crafts. And be inspired by uplifting thoughts and encouraging words that make a difference in your day!
LATEST POSTS
-

Your Life Has a Plot
Sharing a favorite quote of mine from Max Lucado: Your life has a plot; your years have a theme. You can do something in a manner that no one else can. —Max Lucado, Cure for the Common Life You are uniquely created and gifted—there’s no one else like you who can do the things you…
-

Spinach-Artichoke Strata
Stratas, like this Spinach-Artichoke Strata, are just the thing to enjoy on the weekends for breakfast or brunch. You could serve this dish any day of the week, but weekends are nice, when you have time to relax and enjoy your morning meal without having to worry about rushing off to work. And now that…
-

Bacon-Ranch Cheeseball
Cheeseballs make great party food and appetizers and they’re also perfect when you need an easy snack for your family or a group of friends! This Bacon-Ranch Cheeseball is made with lots of my favorite ingredients—cream cheese, Ranch dressing mix, green onions, bacon pieces, cheddar cheese, and chopped pecans. With all those yummy add-ins, you…
-
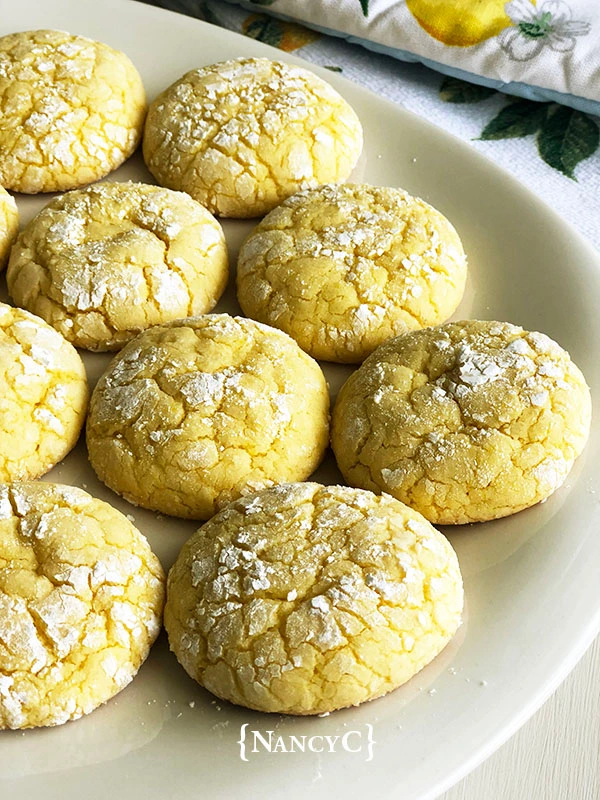
Easy Lemon Crinkle Cookies
Lemon-flavored cookies make a wonderful dessert for the spring and summer months! And these Easy Lemon Crinkle Cookies have lots of lemon flavor! Lemon extract adds to the lemony taste, and you can even add more lemon flavor by adding in some lemon zest if you like. These cookies are also easy to whip up…
-
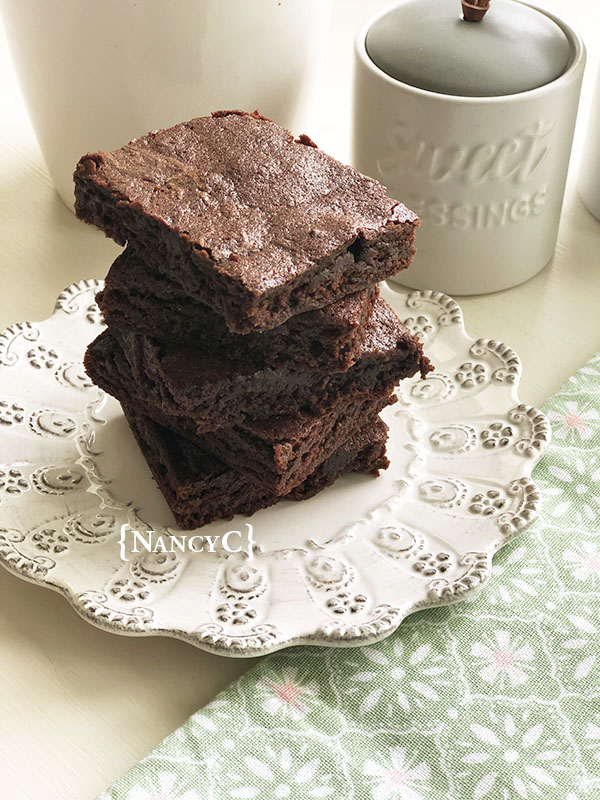
Fudgy Brownies
For those of you who like your brownies rich and fudgy, these Fudgy Brownies are for you! They’re thinner brownies as opposed to thicker, cake-like brownies—and they’re dense, moist, and very chocolatey! I found a brownie recipe a few months ago in the Jan/Feb issue of Better Homes & Gardens, and I tweaked it just…
-
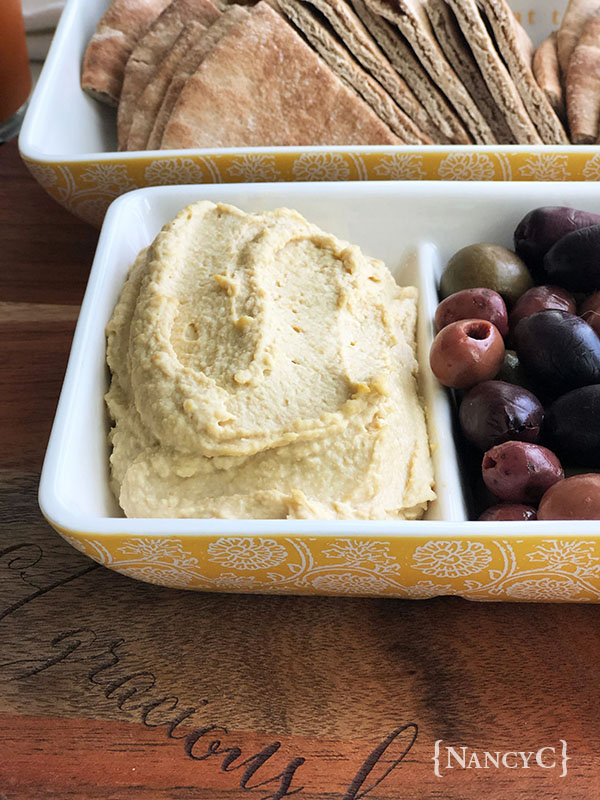
Quick Hummus
Here’s a healthy recipe I meant to post a few months ago, but better late than never! 🙂 If you’re a fan of hummus, you’ll enjoy this Quick Hummus from a cookbook called UNWIND: A Devotional Cookbook for the Harried and Hungry by cooking show host Aarti Sequeira. In this book, you’ll find recipes from…
SIGN UP FOR NancyC’s NEWSLETTER!
Sign up for free and get the latest recipes, home and DIY ideas, and inspiration to brighten your day!
